Setting up CI
Introduction
Playwright tests can be run on any CI provider. In this section we cover running tests on GitHub using GitHub Actions. If you would like to see how to configure other CI providers, check out our detailed doc on Continuous Integration.
You will learn
Setting up GitHub Actions
To add a GitHub Actions file, first create .github/workflows folder and inside it add a playwright.yml file containing the example code below so that your tests run on each push and pull request for the main/master branch.
name: Playwright Tests
on:
  push:
    branches: [ main, master ]
  pull_request:
    branches: [ main, master ]
jobs:
  test:
    timeout-minutes: 60
    runs-on: ubuntu-latest
    steps:
    - uses: actions/checkout@v5
    - name: Setup dotnet
      uses: actions/setup-dotnet@v5
      with:
        dotnet-version: 8.0.x
    - name: Build & Install
      run: dotnet build
    - name: Ensure browsers are installed
      run: pwsh bin/Debug/net8.0/playwright.ps1 install --with-deps
    - name: Run your tests
      run: dotnet test
To learn more about this, see "Understanding GitHub Actions".
Looking at the list of steps in jobs.test.steps, you can see that the workflow performs these steps:
- Clone your repository
- Install language dependencies
- Install project dependencies and build
- Install Playwright Browsers
- Run tests
Create a Repo and Push to GitHub
Once you have your GitHub Actions workflow setup, then all you need to do is Create a repo on GitHub or push your code to an existing repository. Follow the instructions on GitHub and don't forget to initialize a git repository using the git init command so you can add, commit, and push your code.
Opening the Workflows
Click on the Actions tab to see the workflows. Here you see if your tests have passed or failed.
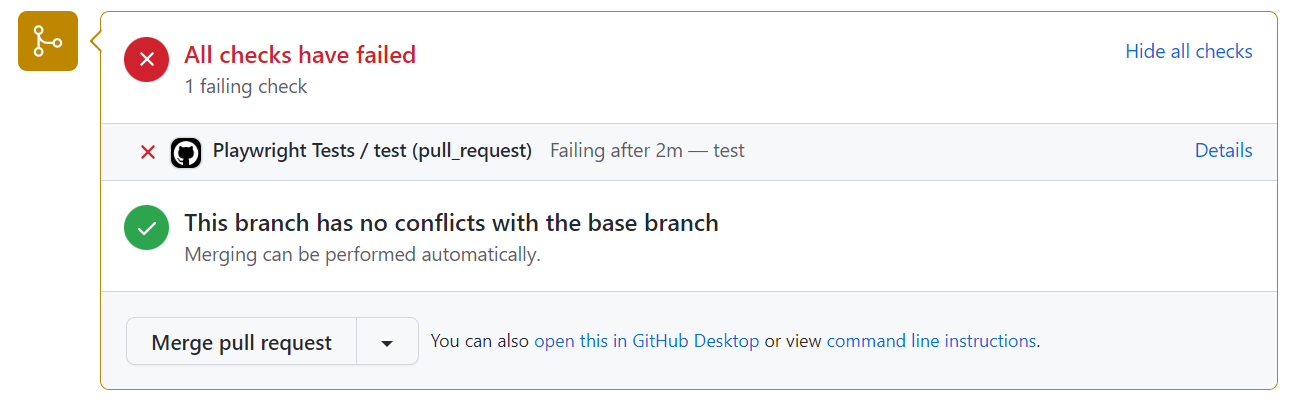
On Pull Requests you can also click on the Details link in the PR status check.
Viewing Test Logs
Clicking on the workflow run shows you all the actions that GitHub performed and clicking on Run Playwright tests shows the error messages, what was expected and what was received as well as the call log.
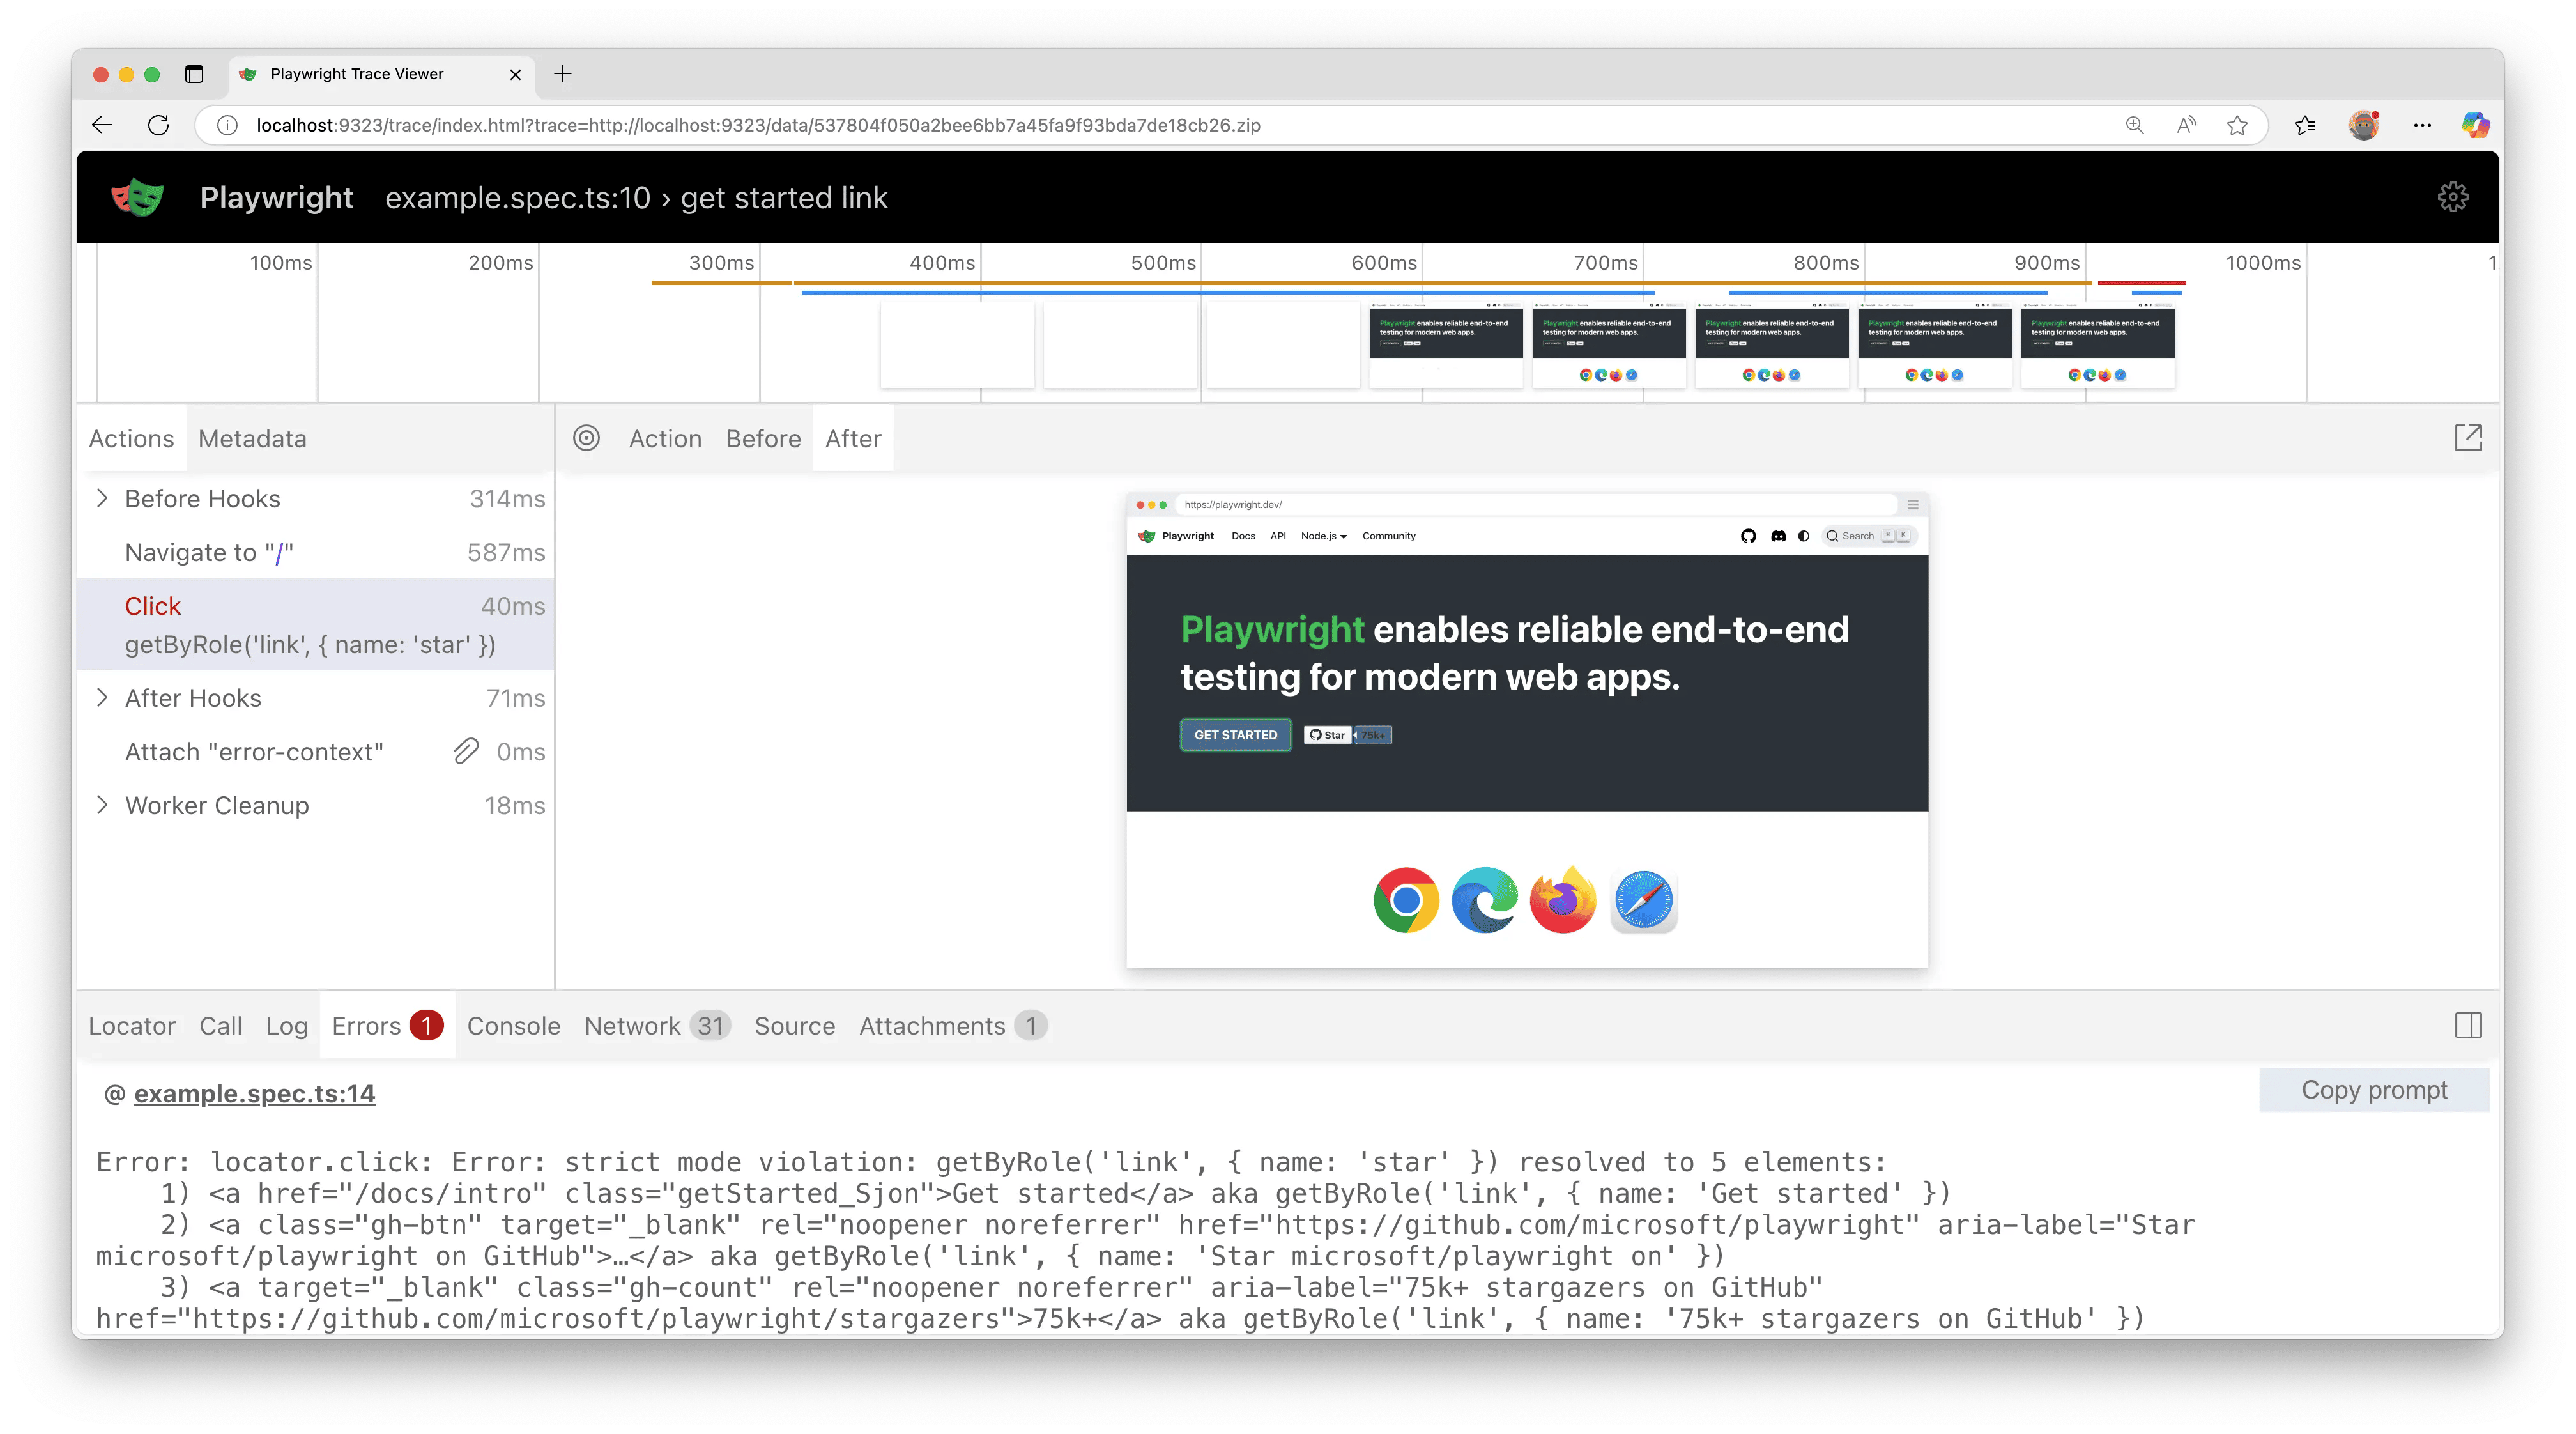
Viewing the Trace
You can upload Traces which get created on your CI like GitHub Actions as artifacts. This requires starting and stopping the trace. We recommend only recording traces for failing tests. Once your traces have been uploaded to CI, they can then be downloaded and opened using trace.playwright.dev, which is a statically hosted variant of the Trace Viewer. You can upload trace files using drag and drop.
Properly handling Secrets
Artifacts like trace files or console logs contain information about your test execution. They can contain sensitive data like user credentials for a test user, access tokens to a staging backend, testing source code, or sometimes even your application source code. Treat these files just as carefully as you treat that sensitive data. If you upload reports and traces as part of your CI workflow, make sure that you only upload them to trusted artifact stores, or that you encrypt the files before upload. The same is true for sharing artifacts with team members: Use a trusted file share or encrypt the files before sharing.